
Garage · GARAGE_MEMBER
Garage Member
For garage employees who need to follow the workshop's jobs, appointments and stock without changing them.
The screenshots in this guide come from a test system. Every name, company, number plate and amount in them (for example "QA Alpha Motors", "Grace Member (Alpha)", "RAD 101 Q") is fictional test data.
A. Introduction
What this role is for
Garage Member is the read-only role in a Pickovo garage. You can follow what is happening in the workshop: which jobs are open, which cars are booked in, what stock is on the shelves and what customers have complained about. You do not create jobs, move jobs between stages, change stock or handle money.
Your responsibilities
- Keep up to date with the jobs board and the appointment list so you can answer questions from customers and colleagues.
- Watch stock levels and tell the stock manager when parts are running low.
- Record and follow up customer complaints (this is the one area where you make changes; see section C).
- Tell your garage admin when you need more access, rather than working around the limits.
What you can do with Pickovo
- See the garage dashboard: open jobs, jobs in progress, jobs completed today and low-stock parts.
- Browse every job in the garage on the board, in a table or as cards, and look back at job history.
- See appointments booked by car owners and scheduled jobs, in a list or on a calendar.
- Browse the inventory, the stock movements ledger and the deadstock analysis, and download stock reports to Excel.
- Read the garage's marketplace inbox and customer reviews.
- Record customer complaints and follow them up until they are resolved.
- Scan paper documents into editable text.
About permissions
What a garage role can do is set per garage. Your garage admin can switch individual permissions on or off for the Garage Member role under Settings → Roles. This guide describes the default settings. Out of the box, a Garage Member holds four permissions:
| Permission | What it opens |
|---|---|
| View all jobs | The jobs board and the job list on your dashboard |
| View bookings | Appointments, plus the car-owner app pages (pickups, messages, reviews, roadside, accident reports) |
| View inventory | Inventory, stock movements and deadstock |
| View complaints | The complaints register |
If your admin has changed these, you may see more or fewer pages than described here.
B. Getting started
Signing in
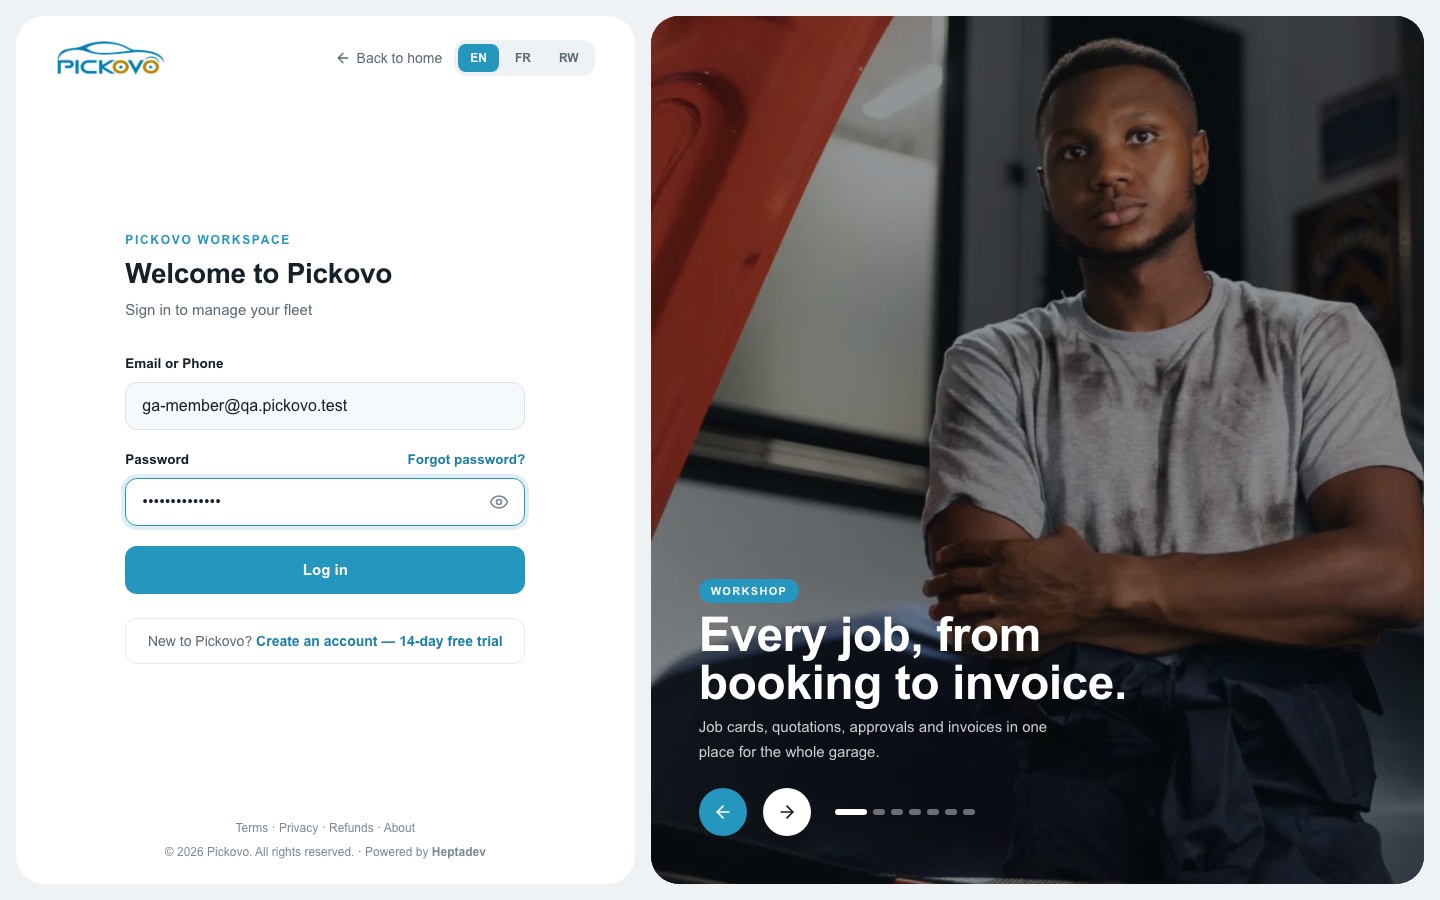
- Open https://fleet.heptadev.com/en/login in your browser. For French use
/fr/login; for Kinyarwanda use/rw/login. You can also switch language with the EN / FR / RW buttons at the top right. - In Email or Phone, type the email address or phone number your garage registered for you.
- Type your password in Password. Click the eye icon to check what you typed.
- Click Log in.
Good to know:
- Forgot password? (above the password box) lets you reset your password.
- If you type the wrong password 10 times within 15 minutes, sign-in for your account is paused for a while. You will see "Invalid email or password" even if you then type the right one. Wait 15 minutes and try again, or use Forgot password?.
- If your account has two-factor sign-in turned on, Pickovo asks for the 6-digit code from your authenticator app after your password.
- Do not use Create an account, 14-day free trial. That creates a new company, not an account in your garage. Your garage admin adds you to the garage.
Your dashboard
After you sign in you land on Garage Overview, your dashboard.
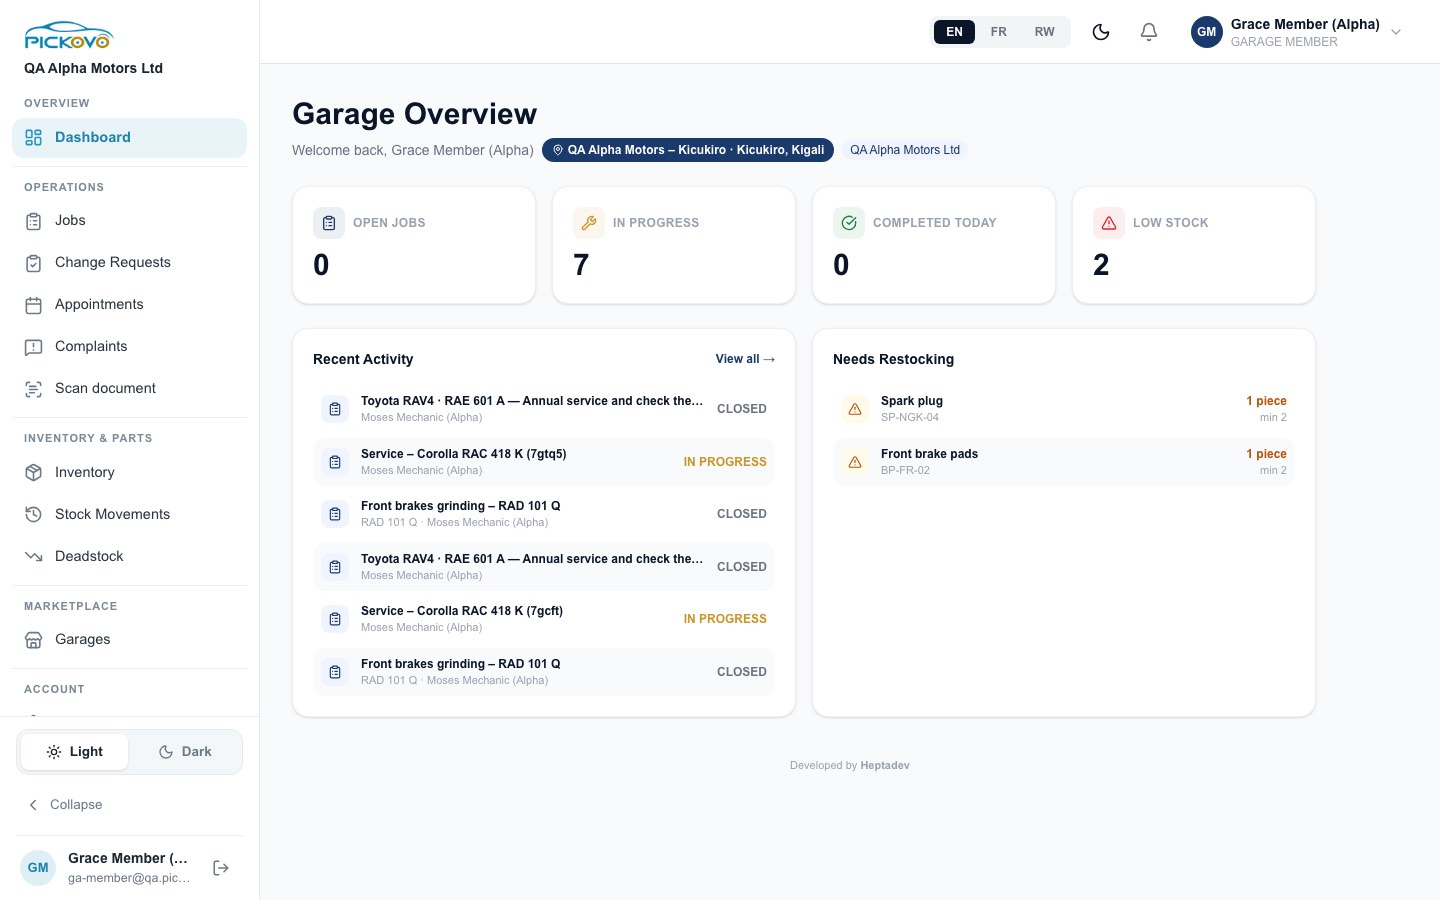
At the top you see your name, the branch you belong to (for example "QA Alpha Motors – Kicukiro · Kicukiro, Kigali") and the company name.
| Area | What it shows |
|---|---|
| Open jobs | Jobs that are open in the garage |
| In progress | Jobs being worked on now |
| Completed today | Jobs finished today |
| Low stock | Parts that are low or out of stock |
| Recent Activity | The six most recently updated jobs, with plate, mechanic and status. View all → opens the jobs board. |
| Needs Restocking | Parts below their minimum level, with the quantity left and the minimum (for example "1 piece, min 2") |
Finding your way around
The sidebar on the left shows the pages you can open:
| Group | Item | Where it goes |
|---|---|---|
| Overview | Dashboard | Garage Overview |
| Operations | Jobs | All Jobs board |
| Change Requests | Stock change requests. This link does not work for Garage Members (see Troubleshooting). | |
| Appointments | Car-owner bookings and scheduled jobs | |
| Complaints | Complaints register | |
| Scan document | AI Document Scanner | |
| Inventory & Parts | Inventory | Parts and stock locations |
| Stock Movements | Stock in, out and returns ledger | |
| Deadstock | Deadstock analysis | |
| Marketplace | Garages | Marketplace Inbox |
Your personal Settings link sits in the account group lower down the sidebar. Scroll the sidebar if you cannot see it.
At the bottom of the sidebar are the Light / Dark switch, Collapse (shrinks the sidebar to icons; point at an icon to see its name), and your name and email with the log-out button. Along the top bar are the language switch, a dark-mode button, the bell (your notifications) and your name. Click your name to see your email address and a Logout button.
C. Features
C1. Dashboard (Garage Overview)
Purpose: see the state of the workshop at a glance.
- Click Dashboard in the sidebar (or sign in).
- Read the four counters.
- Click View all → in Recent Activity to open the full jobs board.
Expected outcome: you see live figures for your garage only. Restrictions: the dashboard is view-only. It is shown in Figure 2.
C2. Jobs (All Jobs)
Purpose: follow every job (work order) in the garage.
- Click Jobs in the sidebar.
- Under Active jobs, choose a view: Board (columns by stage), Table or Cards.
- Type in Search jobs, plates, mechanics… to find a job, or pick a stage from All Statuses.
- Click a job to open its job card.
- Click History to look back at finished jobs.
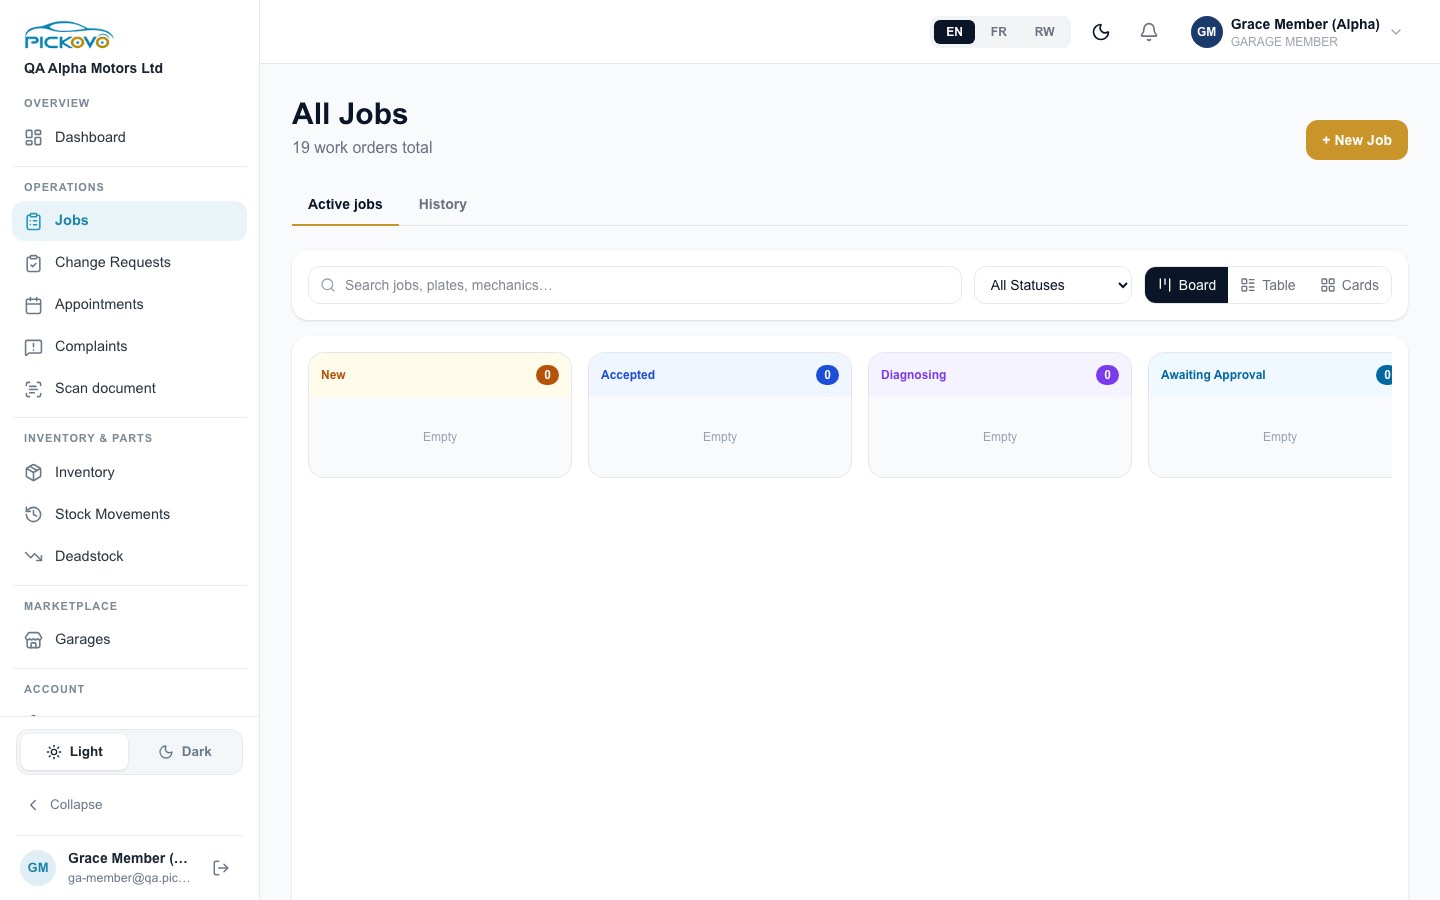
Buttons and fields:
| Item | What it does for you |
|---|---|
| Active jobs / History | Switches between current jobs and the job history |
| Search box | Filters by job title, plate or mechanic |
| All Statuses | Shows only one stage |
| Board / Table / Cards | Changes how the jobs are laid out. Scroll the board sideways to see later stages. |
| + New Job | Shown to everyone, but you cannot create jobs. Clicking it sends you back to your dashboard. |
On a job card you can read the job's details. You can also tag a colleague: in the Tagged box, type @ and a name (for example "@Grace please check the brakes"), then send. The people you tag get a notification. You cannot tag anyone on an archived job.
Restrictions: you cannot move a job to another stage. Dragging on the board is switched off for your role. You also cannot assign mechanics, edit the job, add notes or tasks, or create quotations or invoices.
C3. Appointments
Purpose: see the bookings car owners made in the Pickovo mobile app, and the jobs that have a booked time.
- Click Appointments in the sidebar.
- Choose List or Calendar.
- In the list, open appointments appear first. Click closed appointments to expand the ones that are completed or cancelled.
- Click a scheduled job to open its job card.
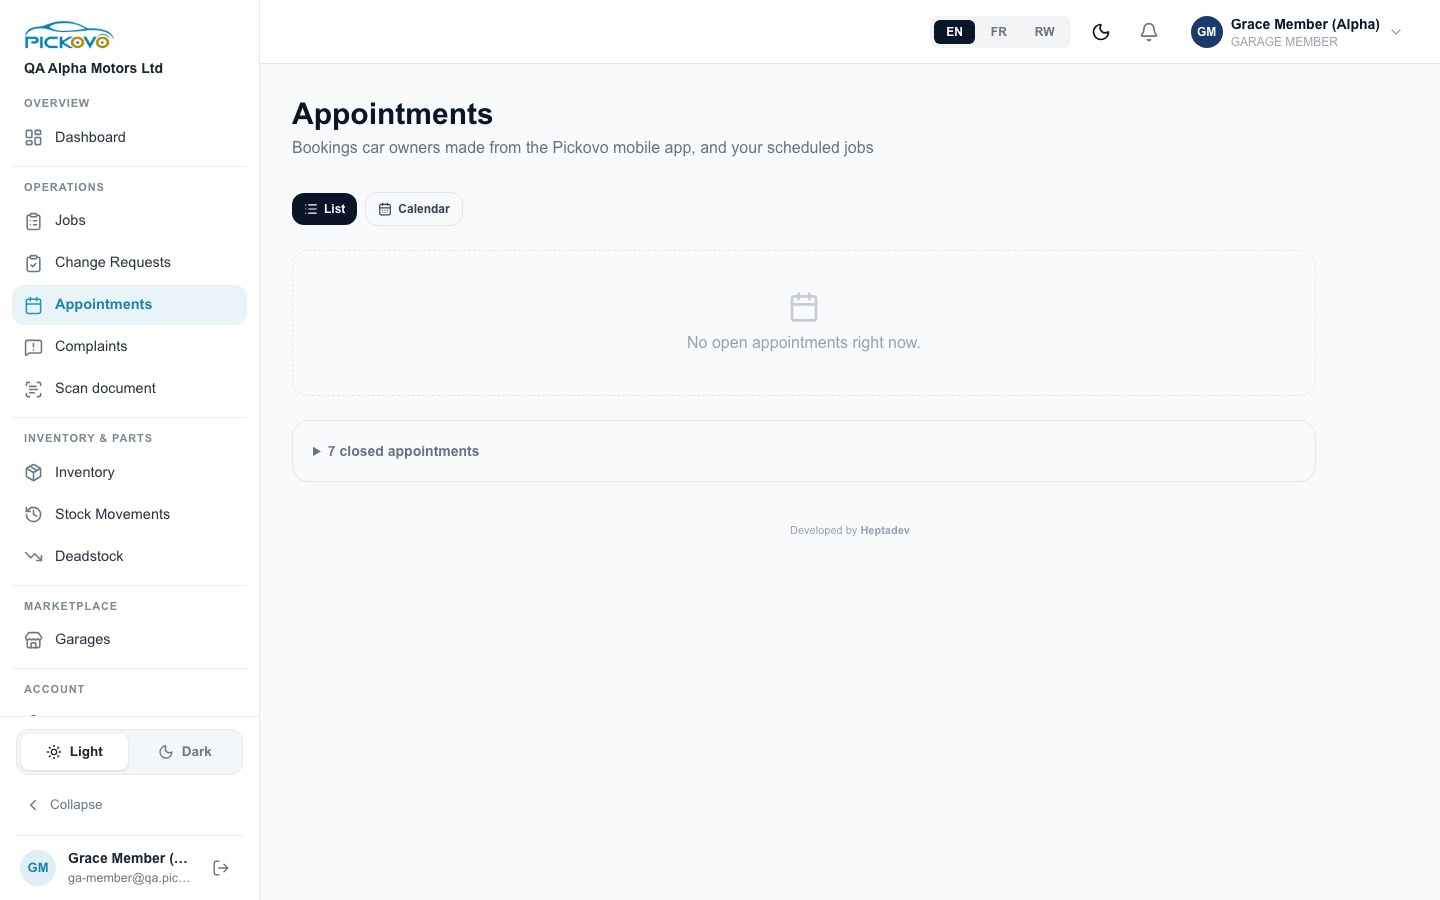
Expected outcome: you can see who is coming and when.
Restrictions and good practice:
- You cannot book a new appointment.
- On a scheduled job, Edit and Cancel are shown, but your role cannot change jobs, so Pickovo refuses the change and shows an error.
- On an open car-owner booking that has no job card yet, Pickovo currently shows Confirm (or Move to …), Change time and Cancel, and these work for your role. The car owner is notified. Confirming a booking also opens a job card. Use these buttons only if your garage admin has asked you to handle bookings. Otherwise leave bookings to the front desk.
- Once a booking has a job card, only Open job card is shown.
C4. Complaints
Purpose: keep a record of every customer complaint, who is handling it, what was done and the deadline. The regulator can see this record.
To record a complaint:
- Click Complaints in the sidebar.
- Click + Record complaint.
- Fill in Customer name (required) and, if you have them, Phone and Email.
- Choose a Category: Poor repair quality, Delay, Unexpected charge, Parts (missing, swapped, wrong), Warranty not honoured, Staff conduct, or Other.
- Optionally choose the Related job card and who to Assign to.
- Respond by defaults to 14 days from today. Change the date if needed.
- Describe the problem in What is the complaint? (required).
- Click Record complaint.
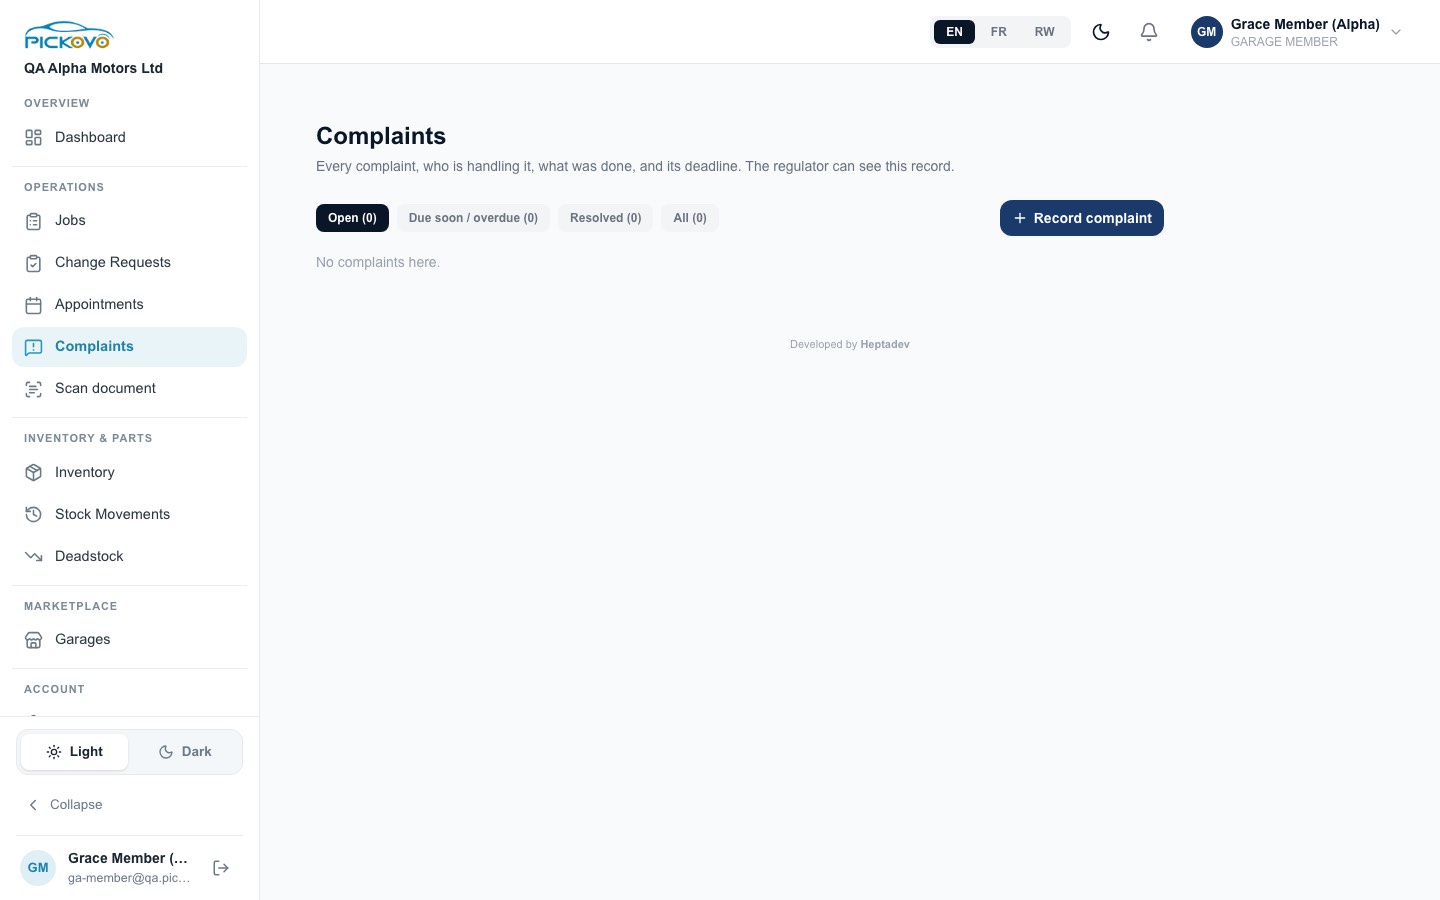
To follow up a complaint: click it in the list to expand it. Then you can:
- Add a follow-up note. A note on an Open complaint moves it to In progress.
- Assign it to a colleague. They get a notification.
- Move due date, then Save.
- Resolve it: describe how it was resolved, then click Resolve.
- Reopen a resolved complaint. You must give a reason.
Tabs: Open, Due soon / overdue, Resolved and All, each with a count.
Expected outcome: every action is saved to the complaint's history with your name.
Restrictions: this is the one place where a Garage Member makes changes by default. It comes from the View complaints permission, and your admin can turn it off.
C5. Scan document (AI Document Scanner)
Purpose: turn a paper document into editable text and a PDF.
- Click Scan document in the sidebar.
- Take photo or Upload image (JPEG, PNG or WebP, up to 10 pages).
- Click Extract text, then check the text. It was read by AI and may contain mistakes, especially in names, numbers and dates.
- Give it a Document title, then Save and/or Download PDF.
Pictures are not stored. Only the text you save is kept. You can open and change your own saved scans, but not a colleague's. This page has no screenshot in this guide.
C6. Inventory
Purpose: see what parts the garage holds, where they are and which are running low.
- Click Inventory in the sidebar.
- Read the banner (for example "2 part(s) below low-stock threshold") and the totals: Total parts, Low stock alerts and Used this month.
- Under Stock Locations, choose All Inventory or a single location (for example "Alpha Main Store").
- Type in Search by part name or part number (SKU)…, or filter by All Categories and All Suppliers.
- Use the All / Low Stock / Out of Stock chips to narrow the list.
- Click a part to see its details.
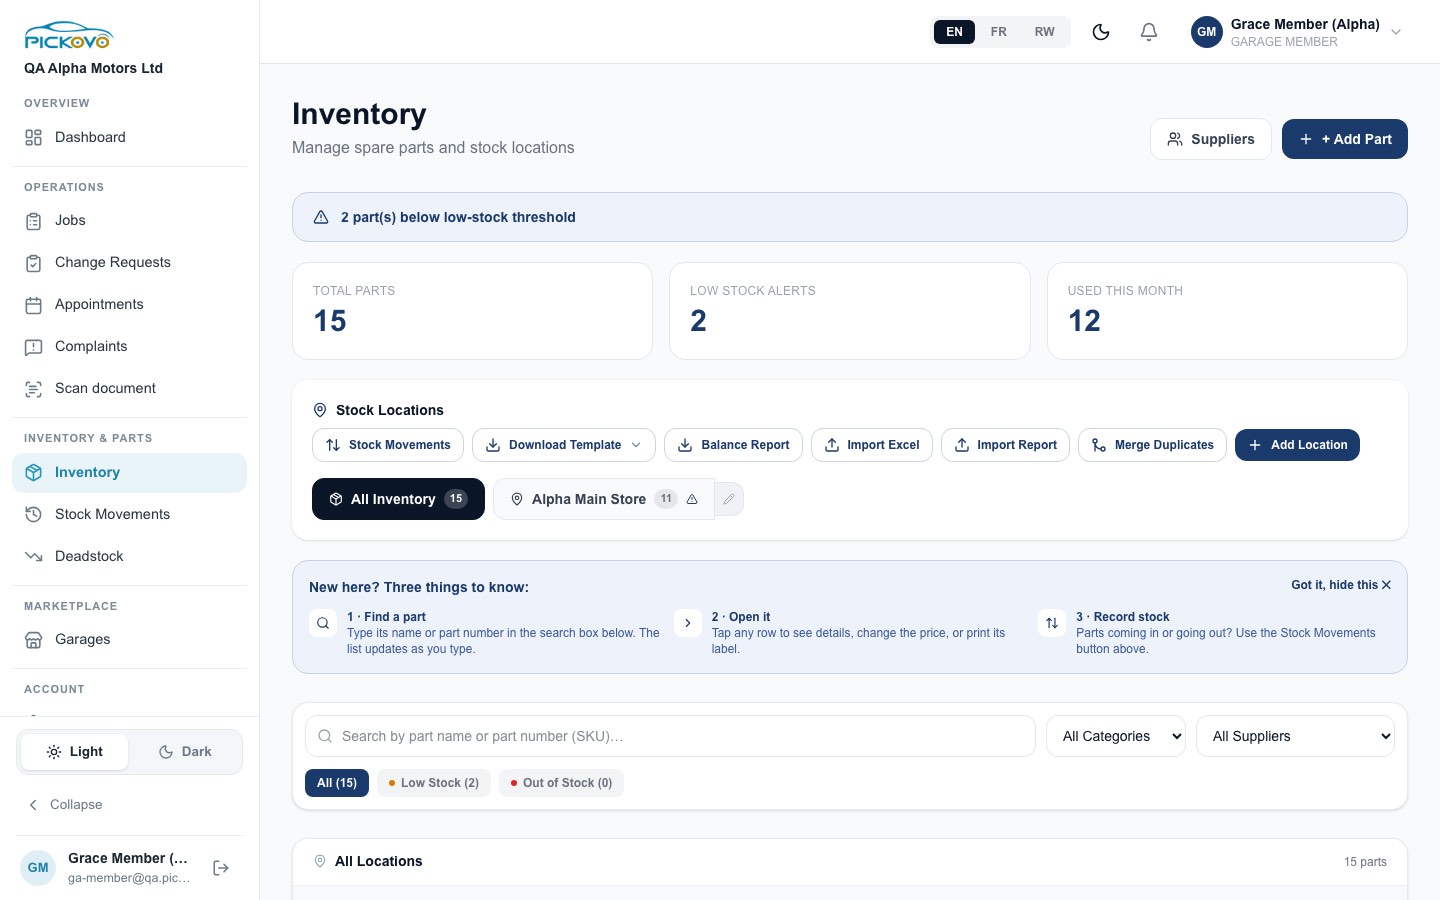
Buttons you can use:
| Button | What it does |
|---|---|
| Stock Movements | Opens the stock movements ledger (C7) |
| Download Template | Downloads the Excel import template |
| Balance Report | Downloads what is on the shelf now, per part |
Buttons you cannot use: + Add Part, Suppliers, Import Excel, Import Report, Merge Duplicates, Add Location and the location edit (pencil) button. They are shown, but they need the stock manager's permissions. Pickovo either sends you back to your dashboard or refuses the action.
The New here? Three things to know panel can be closed with Got it, hide this. Its third tip, about recording stock, does not apply to your role.
C7. Stock Movements
Purpose: see every movement of stock in, out and back (returned), and download stock reports.
- Click Stock Movements in the sidebar, or Stock Movements on the Inventory page.
- Read the totals: Total Stock In, Total Stock Out and Total Returned.
- Under Filter movements, choose What (All Types, Stock In, Stock Out, Returned, Adjusted), search parts in Where, and pick When (Today, Last 7 days, Last 30 days, This month, or a from/to date).
- Under Download a report, choose:
- Item balance: what is on the shelf right now, per item.
- Day sheet: every movement on one day.
- Range summary: pick a from and to date and a grouping (for example by day).
- Click Download Excel on the report you want.
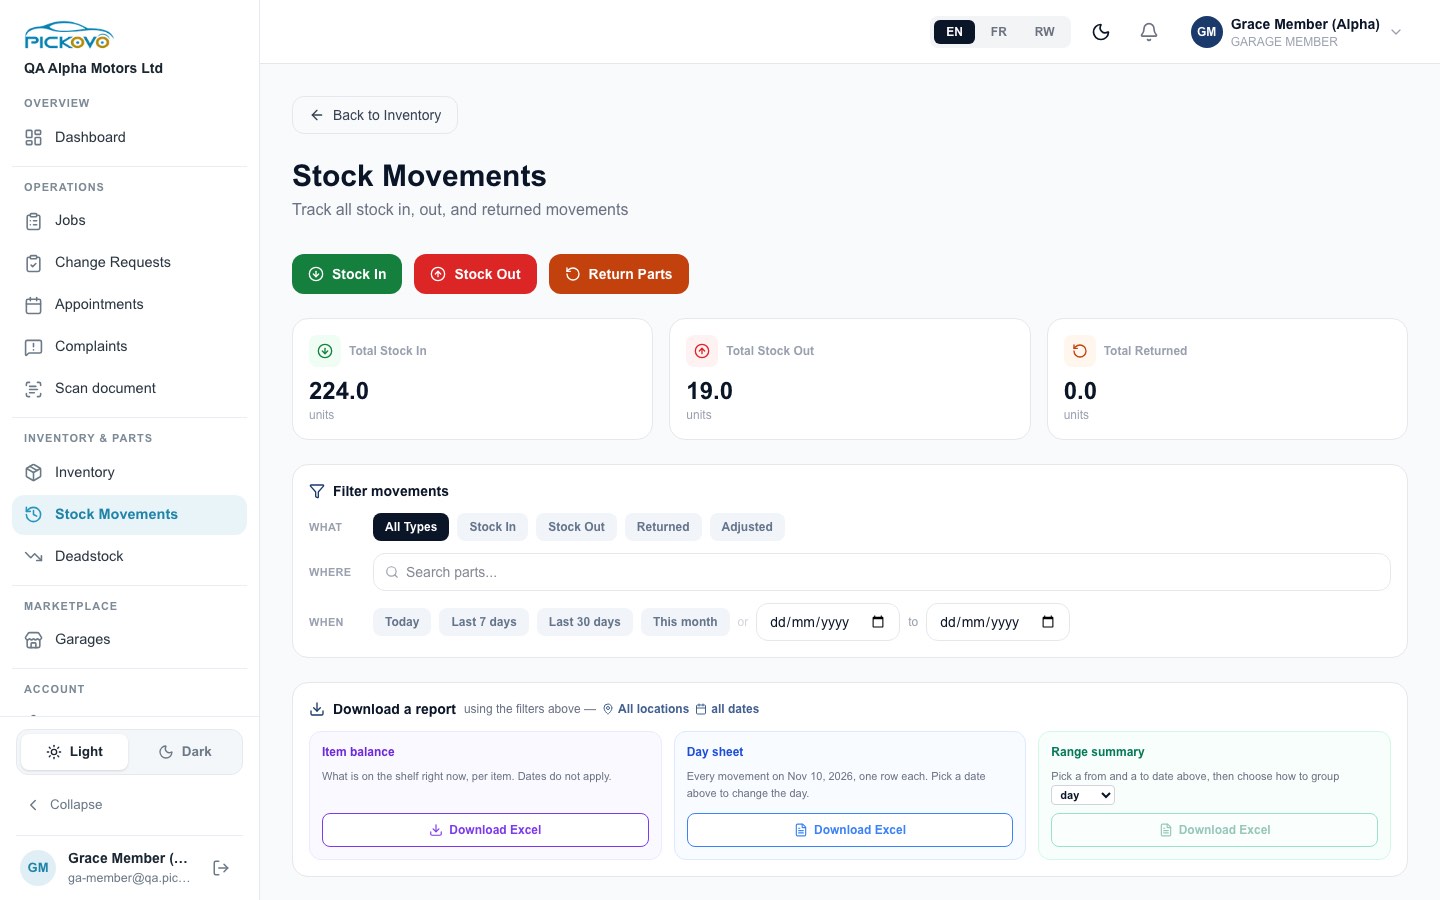
Restrictions: Stock In, Stock Out and Return Parts are shown at the top, but your role cannot record movements. Pickovo refuses them with "Forbidden". You also cannot request a correction to a posted movement. Back to Inventory returns you to the Inventory page.
C8. Deadstock
Purpose: spot parts that are not moving, and the money tied up in them.
- Click Deadstock in the sidebar.
- Read the cards: Deadstock (no movement for more than 90 days), Slow-moving (more than 30 days), Active, and Total value (the money locked in stock).
- The Capital Distribution bar shows the share of each group.
- Use the All / Deadstock / Slow-moving / Active tabs to filter the table.
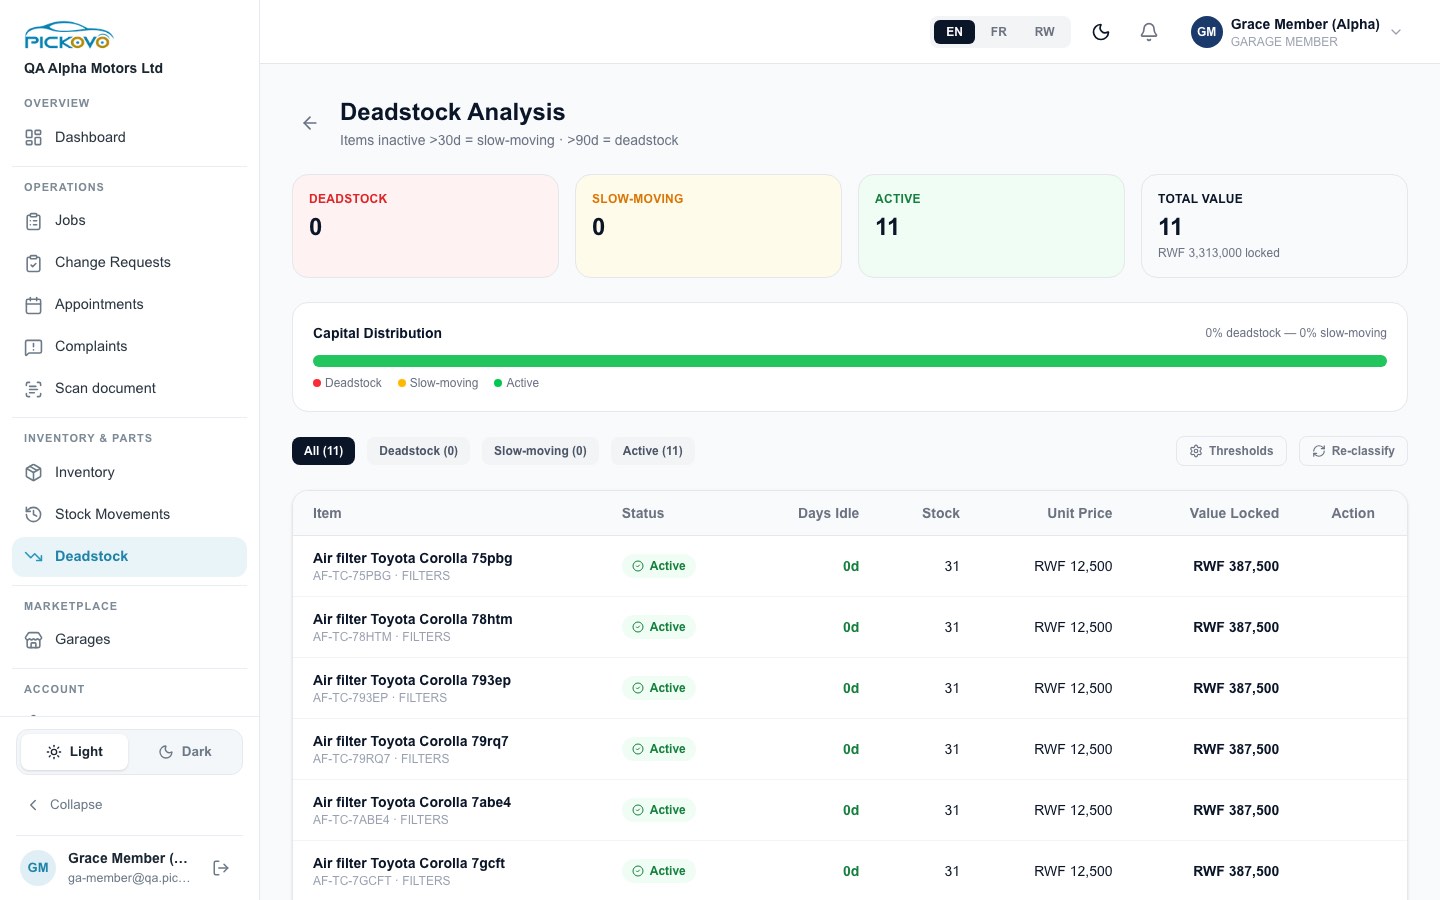
The table lists each Item, its Status, Days idle, Stock, Unit price and Value locked in RWF.
Restrictions: Thresholds, Re-classify and the clearance-price action are for staff who manage stock. Your changes will not be saved. This page also depends on your garage's subscription plan. If deadstock is not included, the page sends you back to your dashboard.
C9. Marketplace Inbox (sidebar: Garages)
Purpose: see collaboration requests that fleet companies and spare-parts shops have sent to your garage.
- Click Garages under Marketplace in the sidebar.
- Choose Fleet Requests or SP Shop Invites.
- Pending requests appear first, then History. Each card shows the sender, the branch, the date and a status (for example Accepted).
- Click the arrow on a card to expand it and read the messages. You can type in Send a message… to write to the other company.
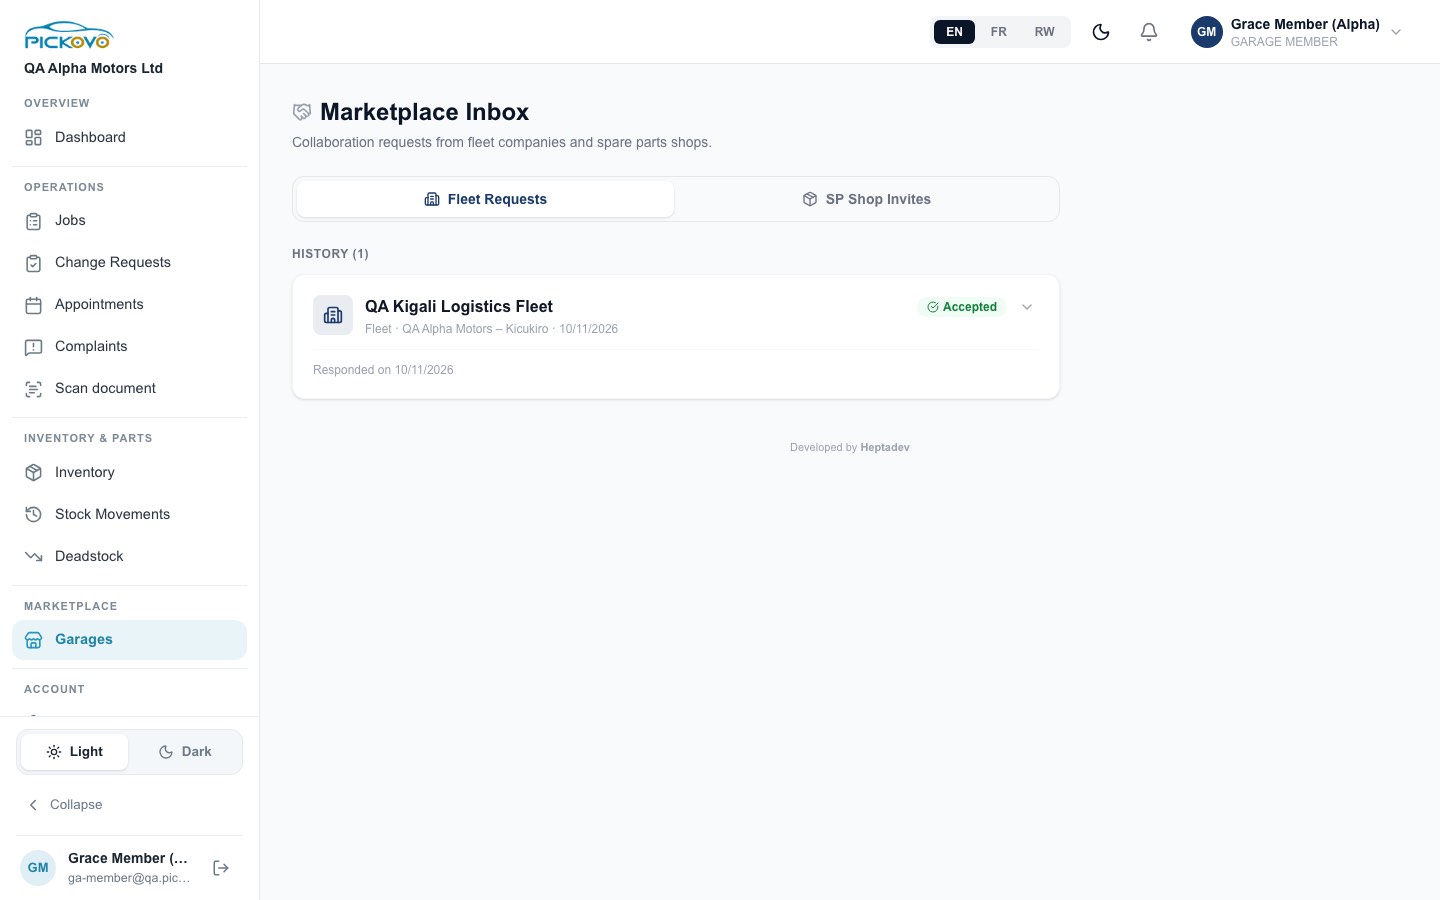
Restrictions: only a garage admin can Accept or Reject a request. Those buttons are not shown to you. Messages you send are seen by the other company, so keep them professional.
C10. Reviews
Purpose: read what car owners say about the garage in the Pickovo app.
There is no sidebar link for this page. Open it at https://fleet.heptadev.com/en/garage/reviews.
- Read the overall rating, the number of reviews and the 1–5 star breakdown.
- Choose All or Not answered.
- Scroll through the reviews. Each one shows the owner's name, stars, date and comment.
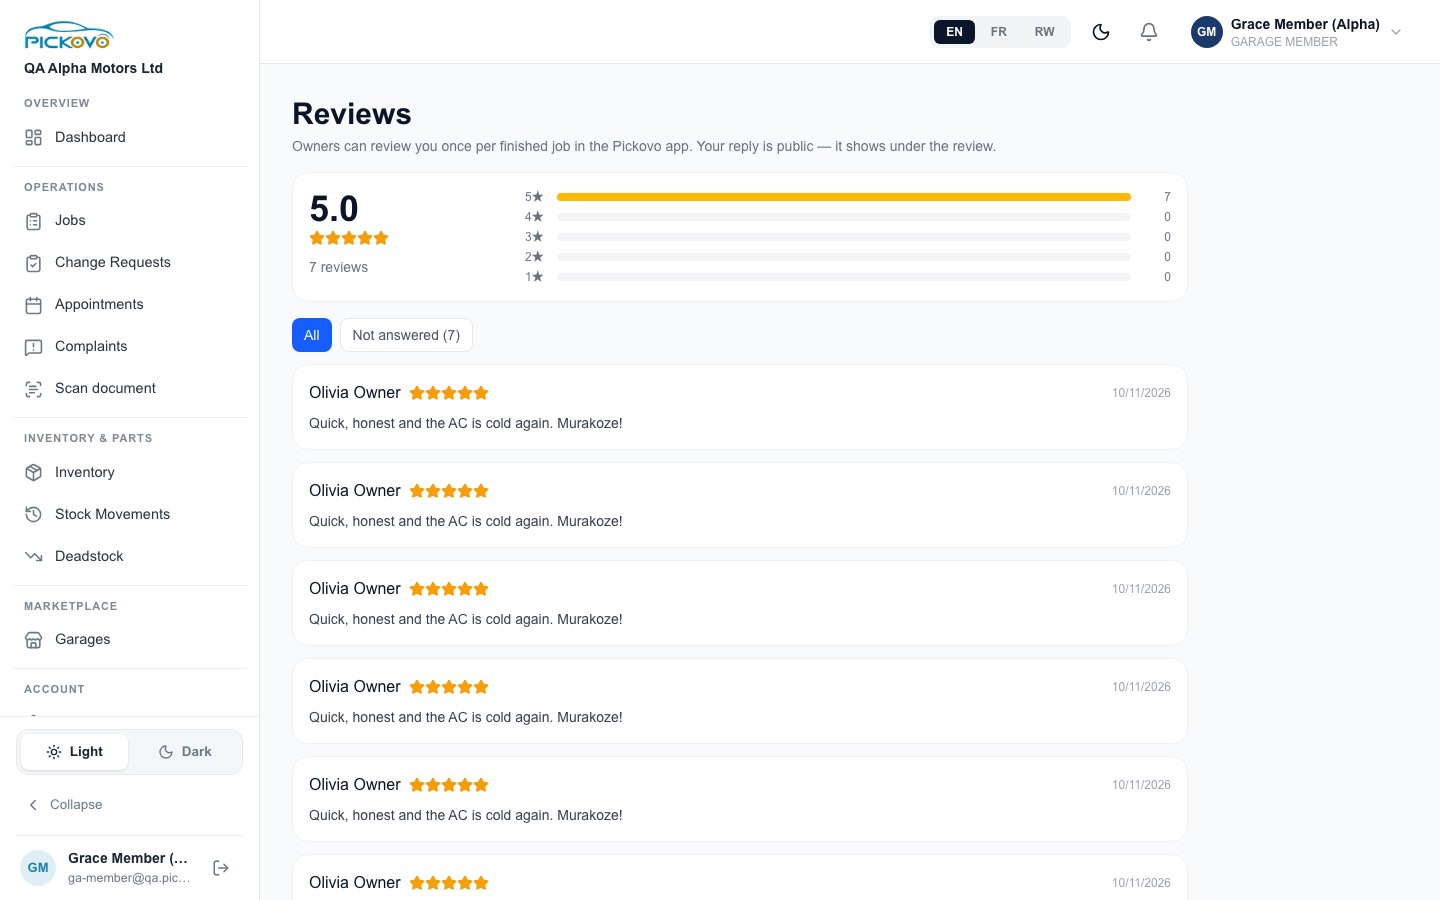
Restrictions: replies are public, and only the garage admin or the front desk (receptionist) can reply. You can read only. This page works only when Pickovo has turned on reviews for your garage.
C11. Car-owner app features: pickups, messages, roadside help, accident reports
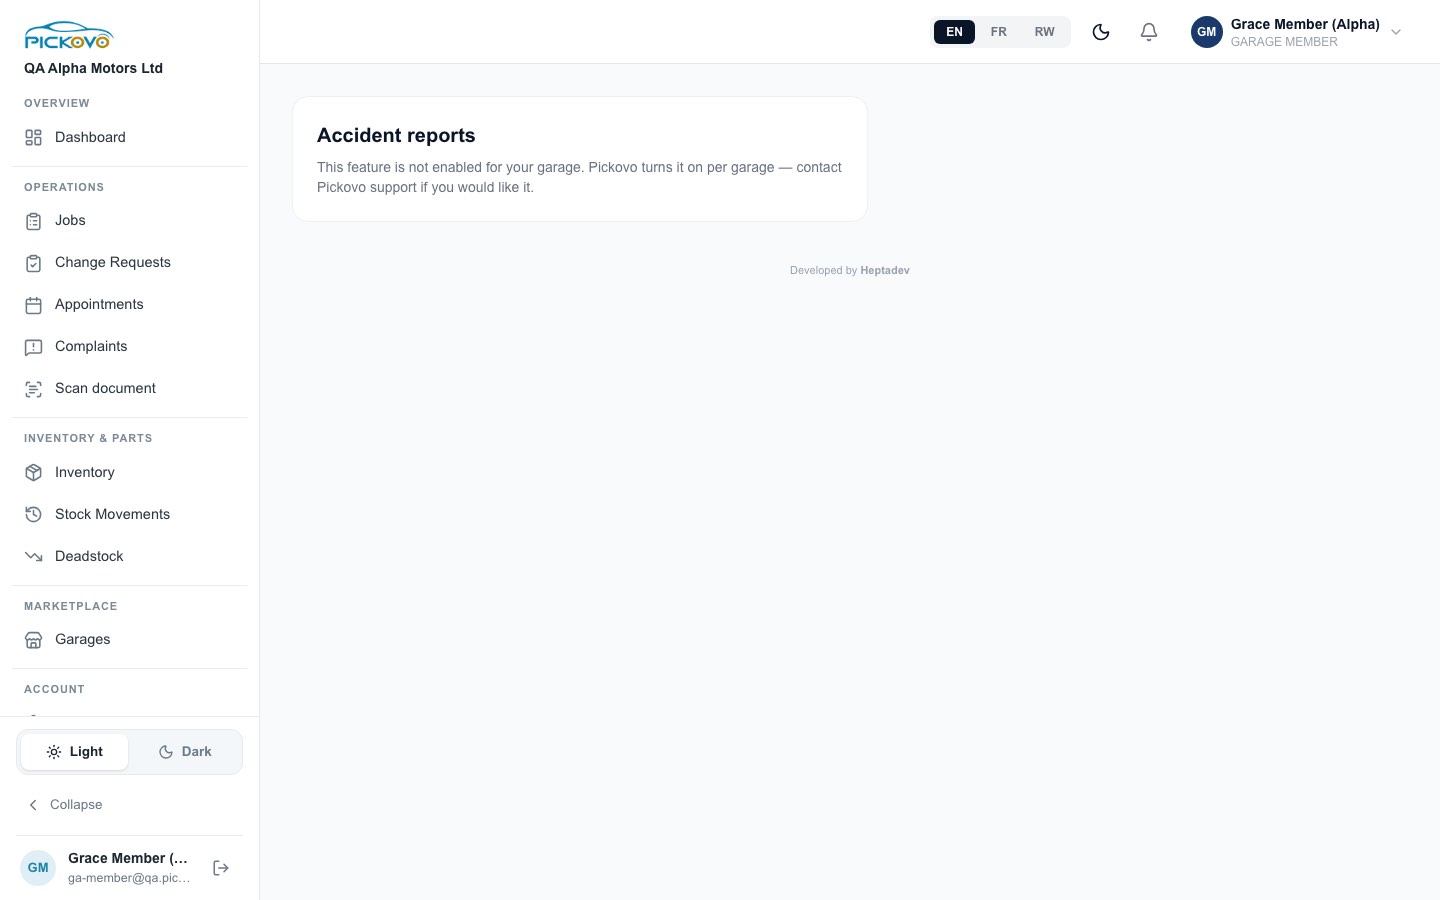
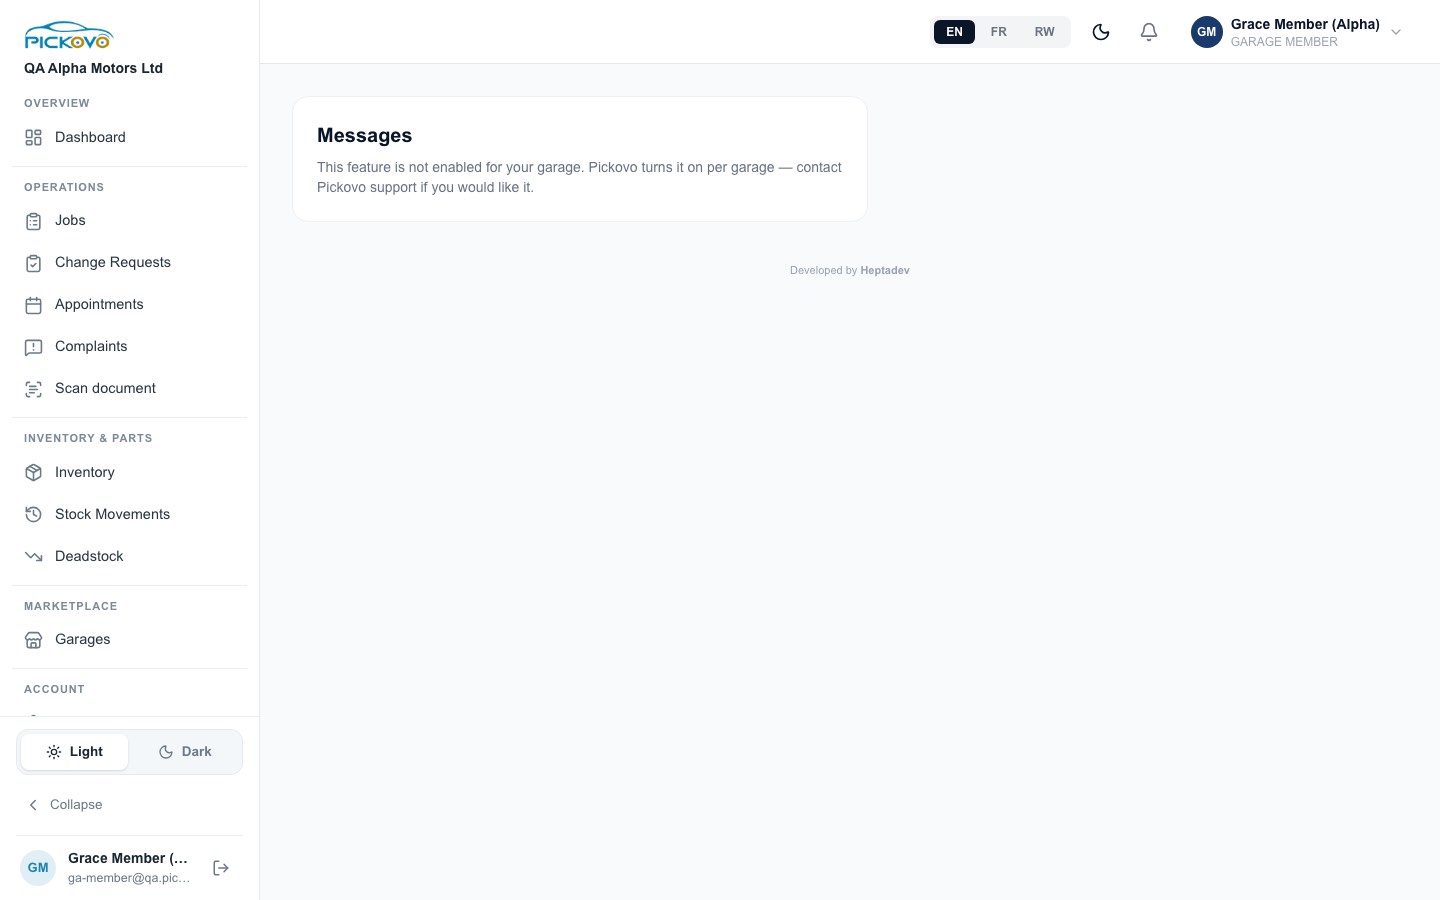
These pages support the Pickovo car-owner app. Every garage app feature is off by default, and Pickovo support turns it on for each garage. None of them has a sidebar link for your role. You can open them by address, for example …/en/garage/pickups, …/en/garage/messages, …/en/garage/roadside and …/en/garage/accident-reports.
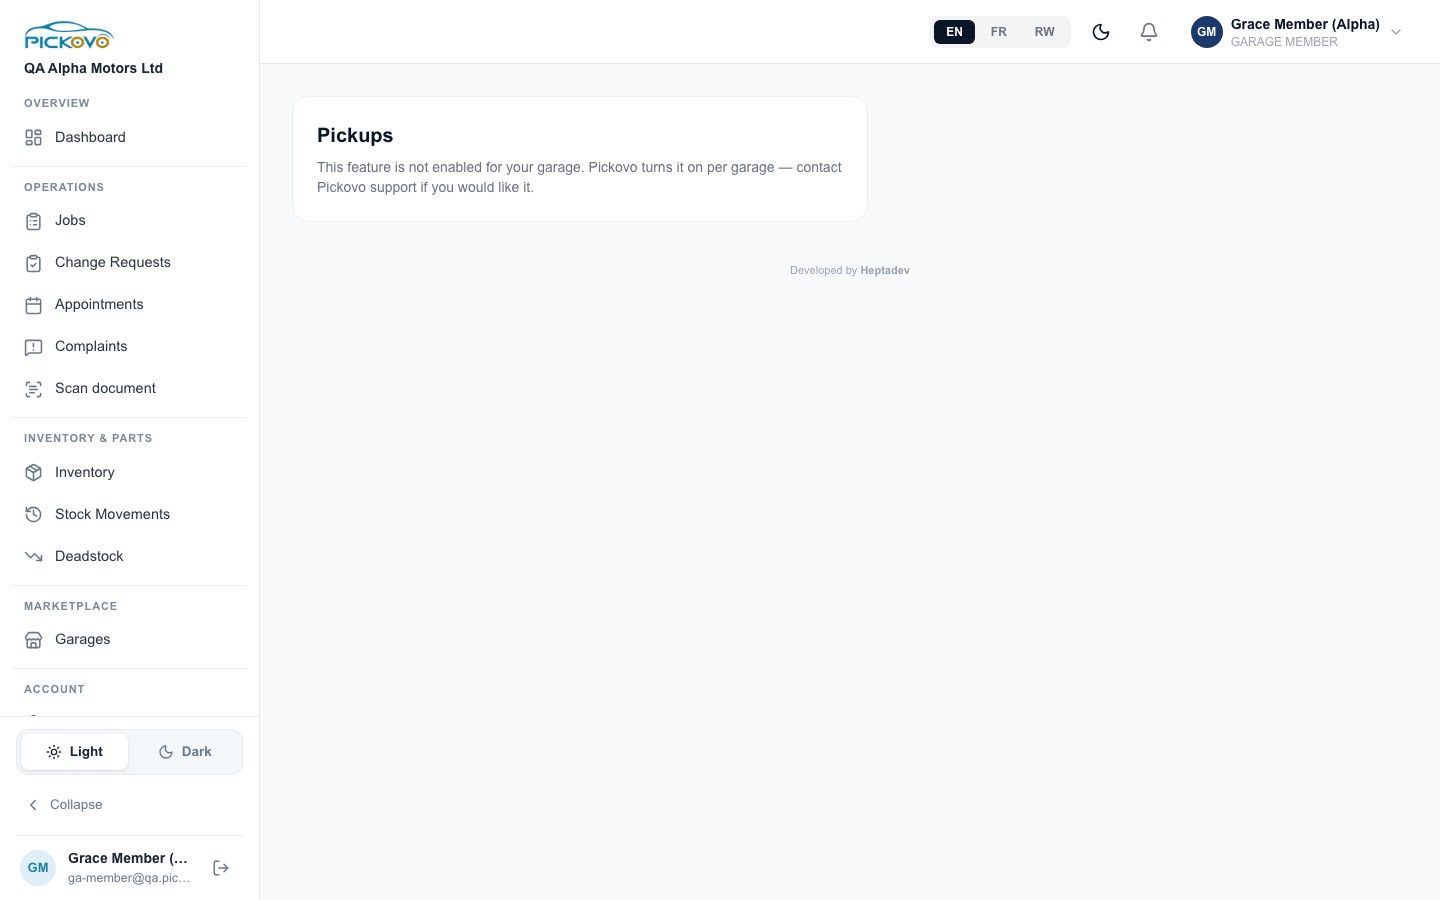
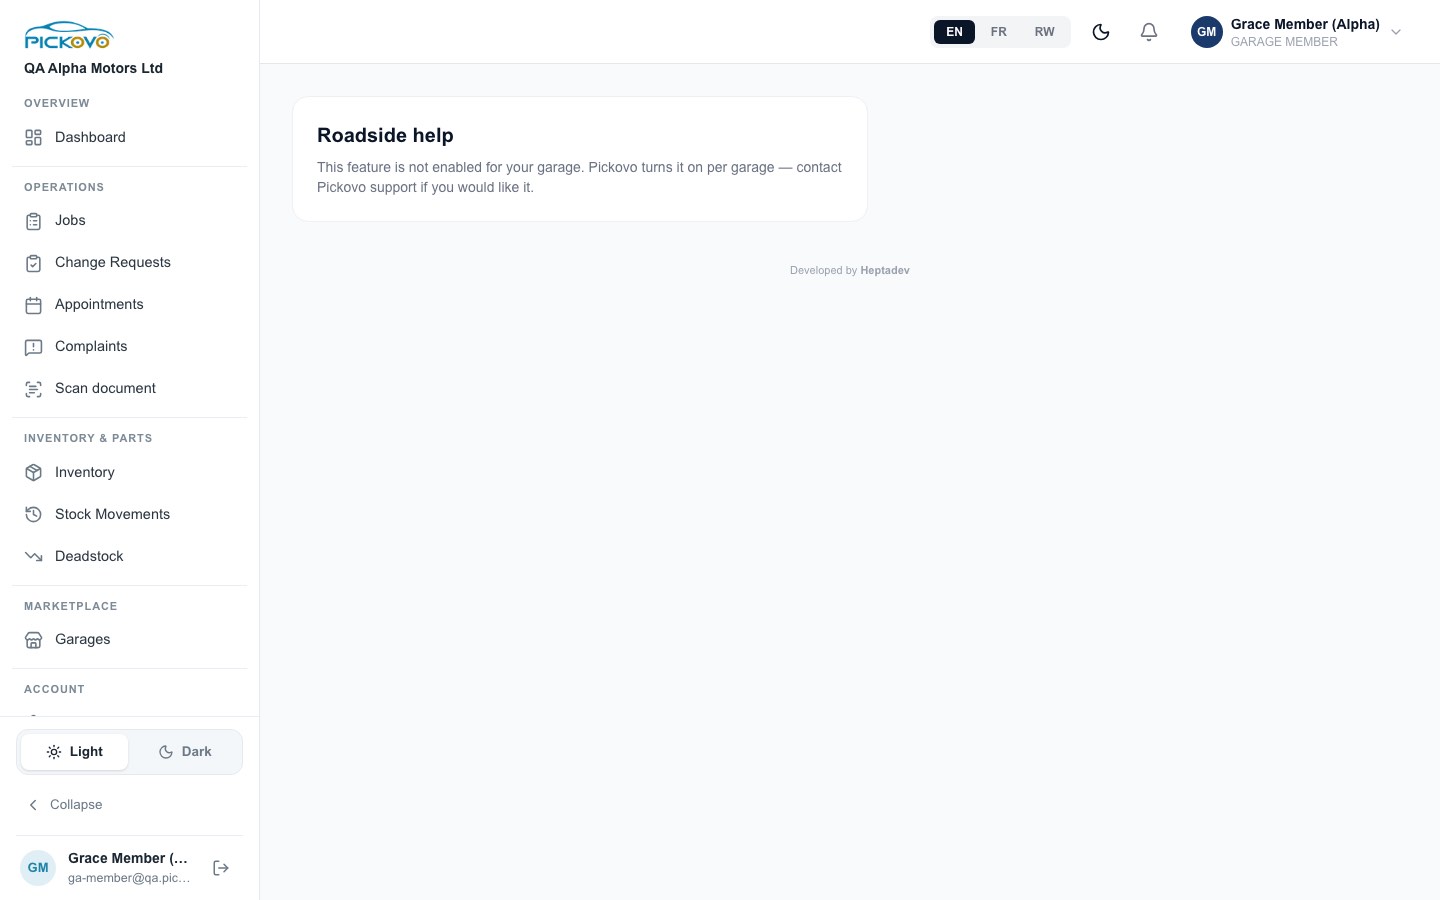
When a feature is off, the page shows "This feature is not enabled for your garage. Pickovo turns it on per garage, contact Pickovo support if you would like it." In the test garage, all four were off. If you need one of them, ask your garage admin, who can contact Pickovo support.
C12. Your account: Settings, notifications, referral
- Settings (
/en/settings): update your Personal Information and Change Password. To change your password, enter your current password and then the new one twice. Leave these boxes blank to keep your current password. You can also ask to delete your account here. - Notification settings (
/en/settings/notifications): choose which notifications you receive. - Referral Program (
/en/settings/referral). - Notifications (the bell in the top bar): for example, when someone tags you on a job or assigns you a complaint.
D. What you can and cannot do
Based on the default Garage Member permissions and the measured page access on the QA build.
| Area | View | Create | Edit | Delete | Approve | Notes |
|---|---|---|---|---|---|---|
| Dashboard | Yes | - | - | - | - | |
| Jobs board, job cards, job history | Yes | - | - | - | - | You can tag colleagues on a job |
| New job, walk-ins | - | - | - | - | - | Cannot access |
| Appointments | Yes | - | Yes (open app bookings only) | - | - | See C3. You cannot book new appointments. |
| Complaints | Yes | Yes | Yes | - | - | Notes, assign, due date, resolve, reopen |
| Inventory, part details | Yes | - | - | - | - | Template and balance downloads only |
| Stock movements | Yes | - | - | - | - | Excel reports only. You cannot record stock in, out or returns. |
| Stock change requests | - | - | - | - | - | Cannot access |
| Deadstock | Yes | - | - | - | - | Depends on the plan |
| Marketplace Inbox | Yes | Yes messages | - | - | - | Accept/Reject is admin-only |
| Reviews | Yes | - | - | - | - | Cannot reply |
| Pickups, messages, roadside, accident reports | Yes when enabled | - | - | - | - | Off by default |
| Document scanner | Yes | Yes | Yes own scans | Yes own scans | - | |
| Own profile, password, notification settings | Yes | - | Yes | - | - | |
| Invoices, payments, expenses, incentives | - | - | - | - | - | Cannot access |
| Reports (operational, workshop, supplier) | - | - | - | - | - | Cannot access |
| Mechanics, gate passes, suppliers, spare-parts buying | - | - | - | - | - | Cannot access |
| Part requests, purchase orders, add part | - | - | - | - | - | Cannot access |
| Compliance, certification | - | - | - | - | - | Cannot access |
| Garage settings, roles and staff, Garage Family, billing, activity log | - | - | - | - | - | Cannot access (admin only) |
A garage admin can grant you more under Settings → Roles. For example, turning on Operational reports would open Reports. Admin-only areas (staff, garage settings, permissions) can never be granted to your role.
E. Common workflows
E1. Following a company car through a repair (workflow W1)
Before you: a driver reports a fault in the app, the fleet manager approves it and sends the job to your garage, and the receptionist accepts it.
- Open Jobs. The new job appears in the New or Accepted column. Search by plate (for example "RAD 101 Q") to find it.
- Watch it move through the stages. The head mechanic assigns a mechanic. The mechanic diagnoses the fault. The quotation waits in Awaiting Approval until the fleet company approves it, and then the repair is In progress.
- If a part is taken from stock, check Stock Movements. A Stock Out line appears and the part's quantity goes down in Inventory.
- If something needs a supervisor's eye, open the job card and tag the head mechanic with a short message.
After you: the head mechanic passes quality control, the cashier invoices and records payment, and the job is closed. The job then appears under History. You do not move any of these stages yourself.
E2. Keeping an eye on stock (workflow W2)
Before you: the stock manager adds parts, approves mechanics' part requests and receives purchase orders.
- Check Low stock on your dashboard each morning, and the Needs Restocking list.
- Open Inventory and click Low Stock to see every part below its minimum.
- To see what happened to a part, open Stock Movements, type the part in Where, and pick a period in When.
- If the stock manager or your admin asks for a report, use Download Excel under Item balance, Day sheet or Range summary.
- Tell the stock manager about anything that looks wrong. Only they can request a correction, and only an admin can approve one.
After you: the stock manager raises a purchase order or a correction request, and the garage admin approves corrections.
E3. A car owner books a service through the app (workflow W3)
Before you: the car owner books a slot in the Pickovo app.
- Open Appointments. The booking appears under open appointments, marked as coming from the Pickovo app.
- Normally the receptionist clicks Confirm, which opens a job card. Do this yourself only if your admin has asked you to.
- Once there is a job card, click Open job card to follow the repair on the jobs board.
- After the job is finished and closed, the owner may leave a review. Read it on the Reviews page.
After you: the workshop repairs the car, the cashier takes payment, and the admin or receptionist replies to the review.
E4. Handling a customer complaint
- A customer phones or walks in unhappy. Open Complaints and click + Record complaint.
- Enter the customer's name and contact details, pick the category, link the job card if there is one, and assign it to the right colleague.
- Describe the complaint and click Record complaint.
- Check the Due soon / overdue tab regularly. Add notes as things happen.
- When it is sorted, expand the complaint, describe the resolution and click Resolve. If the customer comes back, Reopen it with a reason.
F. Troubleshooting
| What you see | Why | What to do |
|---|---|---|
| You click a page or button (for example + New Job, + Add Part, Suppliers) and land back on Garage Overview | Your role does not hold that page's permission. Pickovo sends you to your dashboard. | This is expected. Ask your garage admin if you need that access. |
| Clicking Change Requests sends you to the sign-in page, or shows "You're signed in as …, but your workspace didn't open" | Known issue: the sidebar shows Change Requests to Garage Members, but the page does not admit them. It sends you to the sign-in page instead of your dashboard. | Click Try again, or go to /en/garage. Do not sign in with someone else's account. You cannot view stock change requests. Ask the stock manager or admin. |
| "Forbidden" after Stock In, Stock Out, Return Parts, Edit or Cancel on a job | Your role cannot change stock or jobs. | Ask the stock manager or receptionist to do it. |
| A job won't move when you drag it | Moving jobs between stages is not allowed for your role. The order of stages is also fixed: for example, a mechanic can never pass their own quality check. | Ask the head mechanic or receptionist. |
| "This feature is not enabled for your garage" | Pickups, messages, roadside, accident reports and reviews are switched on per garage by Pickovo. | Ask your garage admin to contact Pickovo support. |
| Deadstock sends you back to the dashboard | Deadstock is not included in your garage's plan. | Ask your garage admin. |
| "Invalid email or password" when you are sure the password is right | Either a typo, or sign-in is paused after 10 wrong attempts in 15 minutes. | Wait 15 minutes, check the email or phone number, or use Forgot password?. |
| "Incorrect authenticator code" | The 6-digit code was wrong or expired. | Type the current code from your authenticator app. Check that your phone's clock is correct. |
| You see fewer pages than this guide describes | Your admin has changed the Garage Member permissions. | Ask your garage admin. |
G. Security and best practices
- Keep your password to yourself. Never share your account. Everything you do (complaint notes, tags, booking changes, messages) is recorded under your name.
- Use a strong, unique password, and change it under Settings → Change Password if you think someone else knows it.
- Two-factor sign-in: if it is set up on your account, keep your authenticator app on a phone you control. If you lose the phone, tell your garage admin straight away.
- Log out on shared computers: use the log-out button next to your name at the bottom of the sidebar or under your name.
- Customer data is confidential. Complaint records include customers' names, phone numbers and emails, and the regulator can see the register. Write facts, not opinions.
- Downloaded Excel reports contain stock values. Store them on garage devices only and delete them when you no longer need them.
- Scanned documents are read by Pickovo's AI service. Only scan what your work needs, and check the text before saving.
- Do not work around limits. If a button is refused, ask your admin rather than asking a colleague to sign you in under their account.